Creating Dynamic Tabs in Vue.js with Server Data and the "KeepAlive" Component
Introduction:
In our previous post 'Vue.js: Build Simple Tabs with Dynamic Components' we explored creating basic tabs with dynamic components. But what if we need to fetch data from the server for each tab? What if this data needs to be updated selectively upon tab activation? Join me in this post as we delve into the intricacies of fetching server data for dynamic tabs and explore the functionality of the 'KeepAlive' component. Let's unravel the complexities together...
We will not dive deep into how to start a new project, or how to build tabs, as I mentioned you can find it in my previous post 'Vue.js: Build Simple Tabs with Dynamic Components'. Here we will start from already existing tabs and step 4.
Step 4: Fetch and render data.
We will use Free Fake API for testing 'JSON Placeholder'. There is a cool endpoint for us 'https://jsonplaceholder.typicode.com/photos' that returns a list of images with descriptions, but also we can add an ID and receive only one image.
In our Tab.vue component in the created hook, let's generate a random integer number to fetch different images every time our tab was created, then asynchronously fetch the photo and store it in the 'photo' variable. After the photo is successfully received it will be rendered in our Tab component. We will add this functionality to all our Tabs, and every time the active Tab changes new image will be shown. Here is the Tab.vue code example:
<template>
<div>
<img v-if="photo" :src="photo.url" :alt="photo.title">
</div>
</template>
<script>
export default {
name: 'Tab1',
data() {
return {
photo: null
}
},
async created() {
const randomInteger = Math.floor(Math.random() * 100) + 1;
const response = await fetch(`https://jsonplaceholder.typicode.com/photos/${randomInteger}`);
this.photo = await response.json();
}
}
</script>
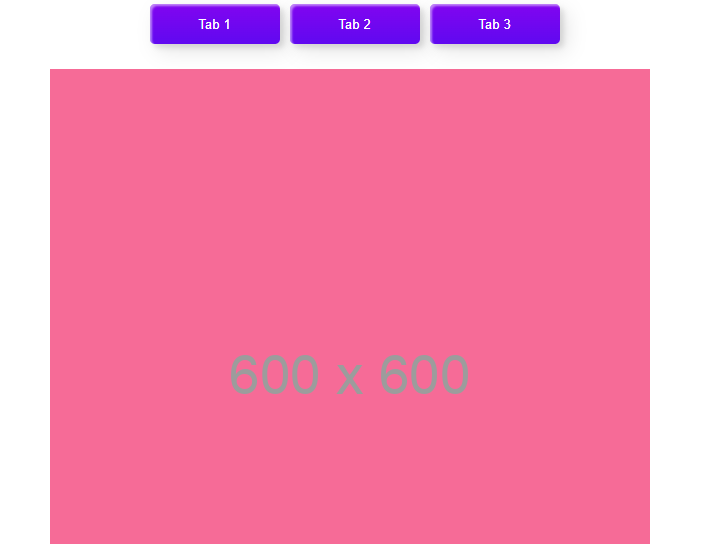
Let's start our project 'npm run serve' and check the result:


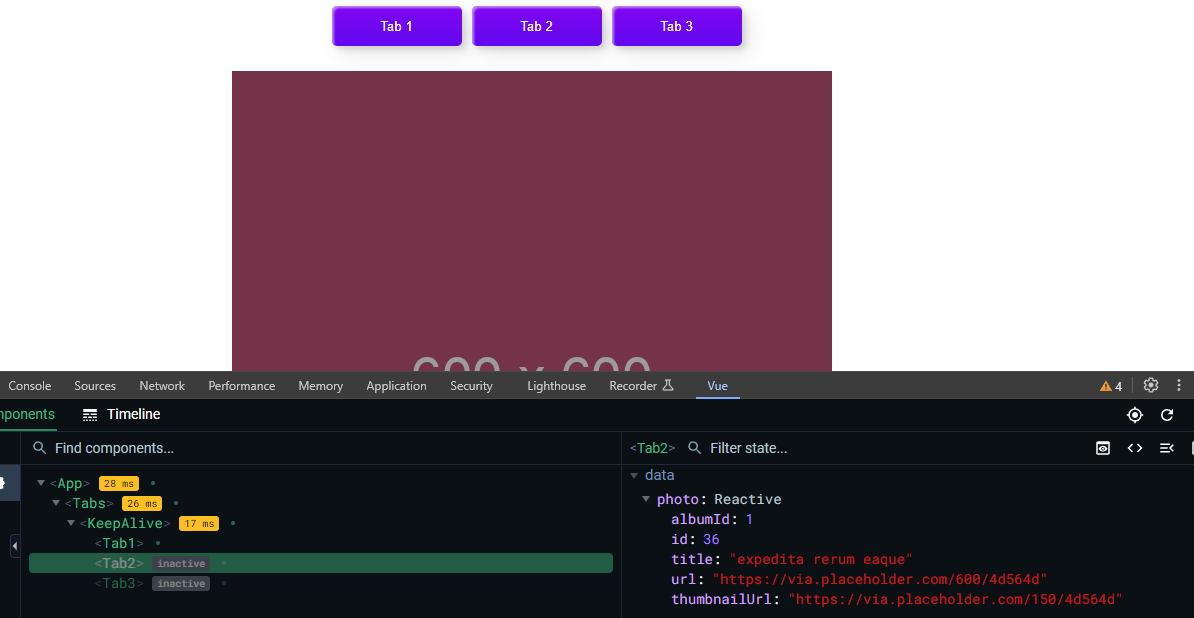
It looks great, our tabs work correctly. Also, we can check fetched data in Vue.js dev tools in the browser window.

Return a few times to the same tab and the image will be updated. It's useful if we update data in the server often, and need to fetch and rerender it in our app. But what if we need to receive it once? Or what if we care about our server resources? Not a big deal, because we have a <KeepAlive> component.
Step 5. <KeepAlive> component.
Okay, let's wrap out the dynamic component into the <KeepAlive> component and check what changed.
<div class="tab-container">
<KeepAlive>
<component :is="renderedComponent"></component>
</KeepAlive>
</div>

Everything works fine, but when you change the tab and return to the previous it will not send the request to the server for data, because thankfully to <KeepAlive> component tab was not destroyed and it still stores data. You can check it in Dev tools, tabs still exist but some of them are just inactive.
Conclusion:
In this insightful post, we've ventured into the intricacies of enhancing dynamic tabs in Vue.js by fetching data from a server and leveraging the power of the 'KeepAlive' component. Building upon the foundation of our previous tutorial, we seamlessly integrated server data into our tabs using the JSON Placeholder API, providing a practical demonstration of fetching and rendering dynamic content. The utilization of the 'KeepAlive' component proved to be a game-changer, preserving tab states and fetched data even when inactive, optimizing both user experience and server resources. By following these steps, you've not only mastered the art of working with dynamic content but also learned an essential technique for efficient data management in Vue.js applications. Happy coding!!!
Related
How to Add a QR Code Scanner in Vue.js (Step-by-Step Guide)
Starting out in programming is thrilling, yet the number of languages available makes it difficult to decide where to begin.
Building Simple CRM with Vue: Crafting Layouts and Navigation
Starting out in programming is thrilling, yet the number of languages available makes it difficult to decide where to begin.
Full-Stack Blogging CMS: A 17-Part Journey
Starting out in programming is thrilling, yet the number of languages available makes it difficult to decide where to begin.
Start the conversation