
Starting with Express.js: Building a Simple Server Tutorial


Related

How to Add a QR Code Scanner in Vue.js (Step-by-Step Guide)
Starting out in programming is thrilling, yet the number of languages available makes it difficult to decide where to begin.

Building Simple CRM with Vue: Crafting Layouts and Navigation
Starting out in programming is thrilling, yet the number of languages available makes it difficult to decide where to begin.
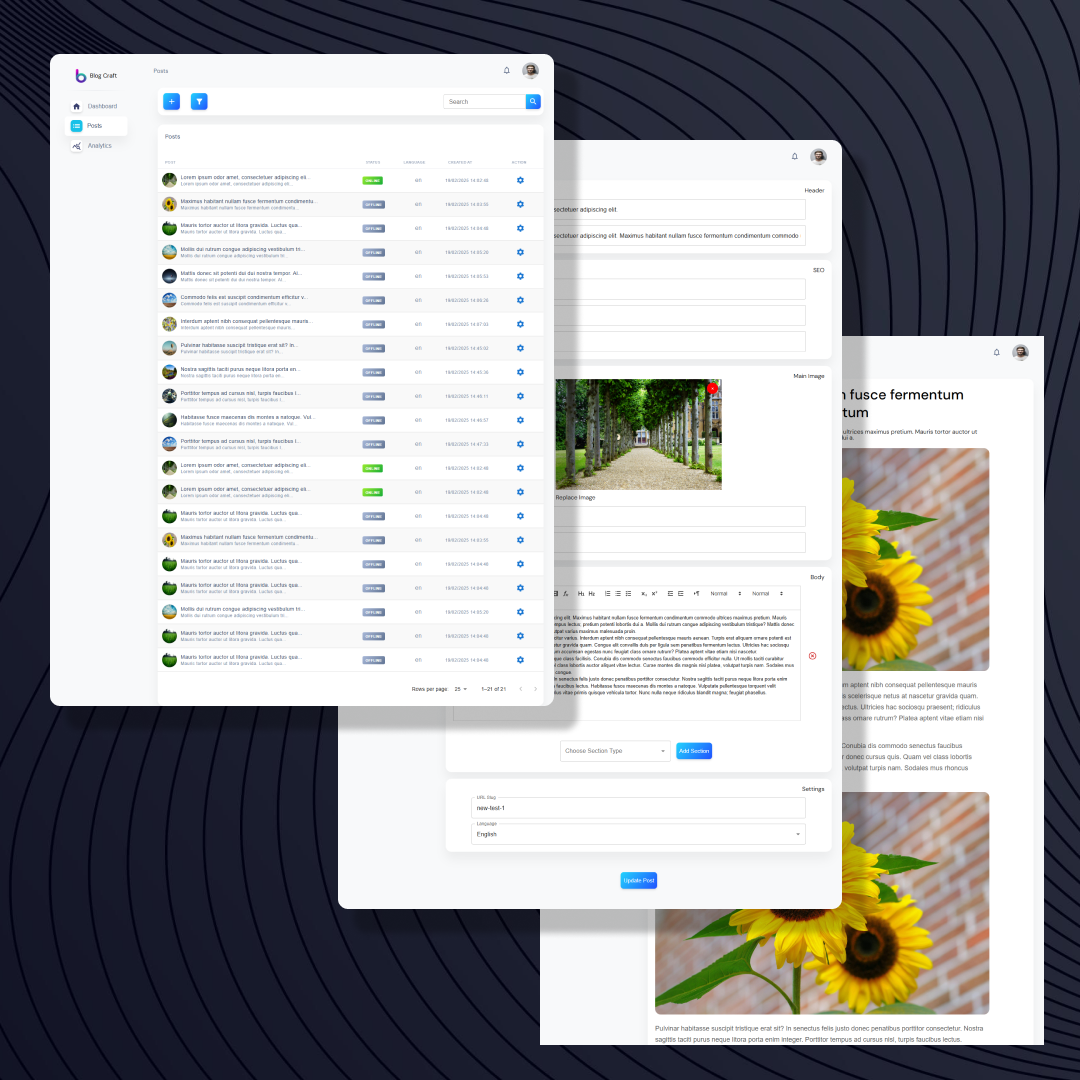
Full-Stack Blogging CMS: A 17-Part Journey
Starting out in programming is thrilling, yet the number of languages available makes it difficult to decide where to begin.
Don't Miss Out!
Subscribe to our newsletter to get the latest articles. No adds, no spam, just the good stuff.


Start the conversation